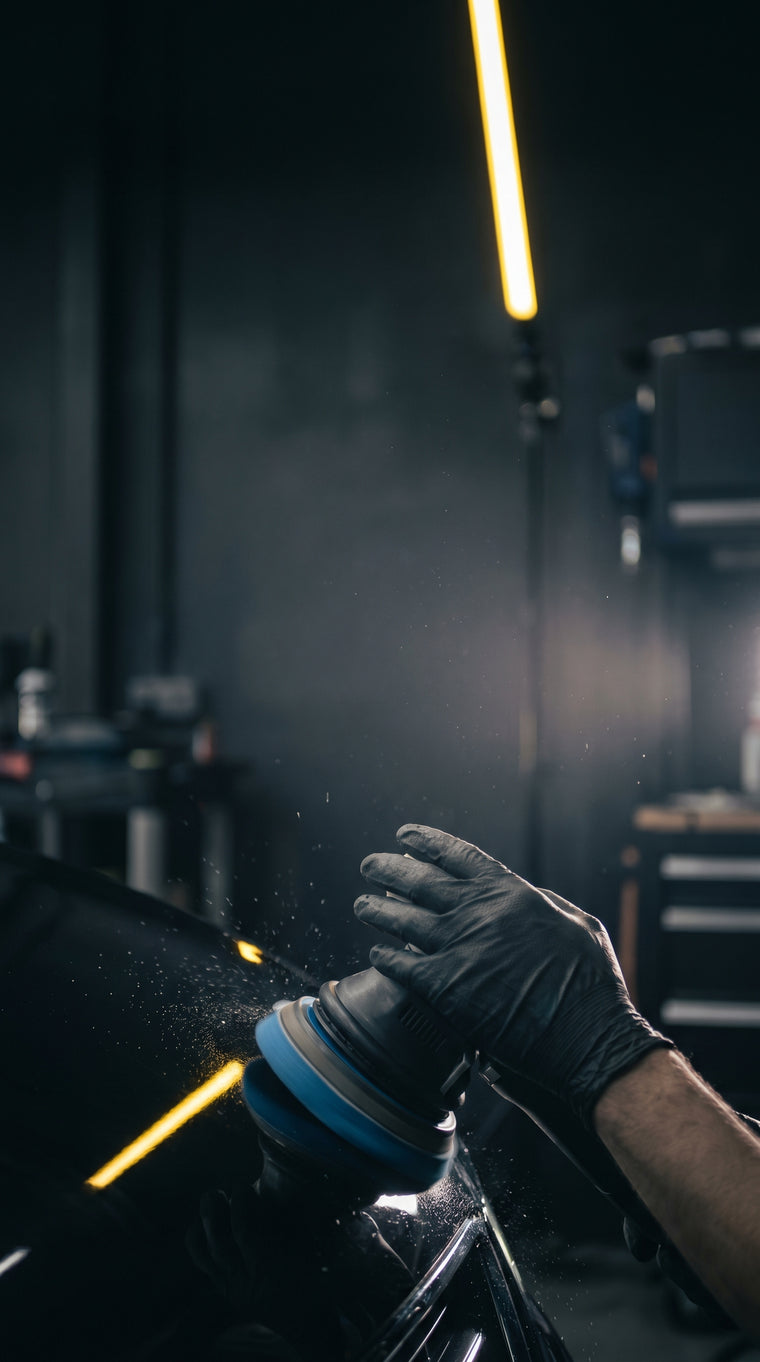
Detail & protection
Ceramic coating prep, start to cure.
Decon, correction, panel wipe, and the temperature-humidity window. The application chain that separates a 3-year ceramic that lasts from one that sheds in 90 days.
Chapter 1
What ceramic prep is actually for
A ceramic coating is a solvent-carried silica (SiO₂) or silazane (Si–N) compound that polymerizes into a glass-like layer chemically bonded to the clearcoat. The coating can't distinguish between the paint and whatever's sitting on the paint — dust, polish residue, silicone oils, wax, iron fallout, tire shine, carnauba glaze. It bonds to the topmost layer. If that layer is contamination, your coating sheds in 90 days and you're explaining to an unhappy customer why it failed.
The purpose of prep is simple
Deliver the coating a surface that is (a) completely bare clearcoat, (b) optically perfect at the level the customer paid for, and (c) chemically stripped of any oils, silicones, or barrier products. Everything below is about how.
The three prep stages
- Decontamination — chemical and mechanical removal of bonded contamination (iron, tar, tree sap, industrial fallout).
- Correction — mechanical removal of clear-coat defects (swirl marks, holograms, light oxidation) to the level spec'd in the customer's package.
- Panel prep — solvent removal of polishing oils, silicones, and any surface residue from the correction stage.
Skip or shortcut any of these three and the coating will underperform. Follow all three and a 3-year coating does its full 3 years.
Chapter 2
Stage 1: Decontamination
Even a 6-month-old car has bonded contamination on every horizontal panel: brake dust iron from the car ahead, tree sap, industrial fallout, road tar. Soap and water will not touch any of this. Decon is a separate stage.
Wash first — properly
Two-bucket wash with grit guards, pH-neutral shampoo (Meguiar's D111, Gyeon Bathe, CarPro Reset). Clean mitts, clean rinse water. Dry with a large plush microfiber or a filtered air blower — never chamois, which drags trapped grit.
Iron remover
Spray-on iron fallout remover reacts with embedded iron particles, turning purple as it works. CarPro IronX, Gyeon Iron, Chemical Guys DeCon Pro. Spray panel by panel, wait 3-5 minutes for full reaction, rinse thoroughly. Do this before clay — iron softens and lifts off chemically, saving clay life and reducing the risk of marring.
Tar remover
For asphalt and road tar — Tar-X, Meguiar's Quik-Out, Stoner Tarminator. Spray, dwell 30 seconds, wipe with a dedicated tar towel (keep it separate from other microfibers forever). Rinse the panel after.
Clay decontamination
After chemical decon, mechanical clay removes what's left — bonded paint overspray, rail dust, mineral scale. Use a fresh clay bar or clay mitt with clay lube. Work in overlapping strokes, flip the clay often, stop if it drags (that means it's loaded with grit that will mar the paint).
Clay grades — fine (blue, white) for well-maintained paint, medium (yellow, grey) for moderately contaminated, aggressive (red, black) only for severely neglected paint. Aggressive clay marrs — plan to polish after.
Final rinse and dry
Rinse thoroughly with clean water. Dry in a controlled environment — not outdoors. Water spots from minerals in tap water are a ceramic prep killer. Deionized final rinse (DI tank or a $300 inline filter) is the pro standard.
Chapter 3
Stage 2: Paint correction
The ceramic amplifies whatever's under it. Swirls, holograms, light scratches — the coating seals them in permanently (or at least until you polish them out and recoat). The level of correction depends on the package sold and the existing paint condition.
Three typical correction levels
- Single-stage / 1-step polish — removes 60-80% of defects. Appropriate for well-maintained cars, base-tier ceramic packages (1-year coatings).
- Two-stage / compound + polish — removes 90-95% of defects. Appropriate for mid-tier packages (3-5 year coatings).
- Three-stage / cut + compound + polish — removes essentially all correctable defects. Required for show-grade and 7-year+ ceramic packages.
The compound-polish-finish chain
- Test panel — polish a test section before committing. Confirm the pad / polish combination actually cuts the defects present, without leaving its own haze.
- Cut stage — wool or cutting-foam pad with heavy compound (Menzerna FG400, Meguiar's M100, 3M Perfect-It 1). Typically at 1800-2200 OPM on a rotary or 3500-4500 OPM on a DA polisher. Defined work area, 4-6 passes, wipe inspect, move on.
- Polish stage — finishing foam pad with medium polish (Menzerna Super Finish, 3M Perfect-It 3, Sonax Perfect Finish). Removes the haze from the cutting stage.
- Jeweling / finishing stage — ultra-fine foam with finishing polish (Menzerna 3800, Sonax EX 04-06). Optional on base packages, mandatory on show-grade work.
Check your work under multiple lights
Swirl lights (Scangrip MultiMatch 3, Meguiar's MT-305), LED bar overhead, and finally natural outdoor light at an angle. Marks invisible in the shop are visible in the sun. Any defect not caught at the polishing stage gets sealed under the ceramic for the life of the coating.
Chapter 4
Stage 3: The panel wipe
Polishing leaves residue: polishing oils, silicone fillers (in some polishes), and panel-prep-fillers. Any of these on the clear prevents the ceramic from bonding. Panel-wipe is the final step — and it is non-negotiable.
The wipe chain
- 50/50 IPA wipe — first pass with a 50/50 isopropyl alcohol / distilled water mix. Cuts polishing oils. Two clean microfibers per panel — apply with one, buff with the second.
- Dedicated panel-prep wipe — second pass with the coating manufacturer's panel prep. Every ceramic brand has their own (CarPro Eraser, Gtechniq Panel Wipe, Gyeon Prep, CQuartz Reload is wrong here — use the actual Eraser product). These are silicone-safe, strip-everything formulations. Use the one that matches your coating brand — cross-brand can leave a film the specific coating chemistry doesn't like.
- Final inspection — under LED swirl lights, the panel should be uniformly matte after wipe flashes. Streaks, hazy spots, or a "wet" sheen means residue is still present. Re-wipe.
Why this matters
The coating's bond chemistry is activated by atmospheric moisture on bare silica-clean clearcoat. Any oil or silicone forms a barrier. You cannot "coat over" poor wipe work — the coating flashes and cures on top of the oil, creates a non-bonded layer, and sheds in 60-90 days.
Chapter 5
The environment window
Ceramic coatings cure via atmospheric humidity — water molecules trigger the polymerization reaction. Too dry, the coating doesn't link up and stays soft forever. Too humid, it flashes before you can level the high spots. The window is tight, and most coating failures happen outside it.
The working window
- Temperature — 60°F to 85°F ambient, 60°F to 80°F panel. Panel temperature matters more than air temperature. Laser thermometer on a black panel is your canary.
- Humidity — 35% to 70% RH. Below 30%, coating won't cure; above 75%, flash-time drops dangerously.
- Airflow — controlled, not gusty. A ceiling fan on low is fine; an open garage door on a windy day is not.
- Cleanliness — dust-controlled. Sweep, mop, let dust settle 30 minutes before the panel wipe. Wear a lint-free suit. A single airborne lint fiber landed in the coating while it flashes is a permanent inclusion.
What to do if the environment's wrong
- Too cold — warm the bay (space heater, booth heaters). Coating works fine at 65°F even if it's 20°F outside.
- Too humid — dehumidifier in the bay. Monitor humidity with a real hygrometer (not the iPhone weather app).
- Too dry — humidifier, or shift the coating to a later morning / evening slot when RH naturally climbs.
- Dusty bay — coating is not the job to do the day after a sanding session. Schedule a 24-hour dust-settle between correction in one bay and coating in another.
Chapter 6
Application technique
Ceramic coatings flash fast and flash differently by brand. The application technique is simple if you match the product's specific flash profile.
Per-panel, small-section approach
Never coat a whole hood at once. Break every panel into 1–2 sq ft sections. Apply, crosshatch level, flash, wipe.
The four-stroke pattern
- 4-6 drops of coating on a suede applicator over a microfiber block. Never directly on the panel.
- First pass — horizontal crosshatch, light pressure, full coverage. Don't rush.
- Second pass — vertical crosshatch over the same area, immediately. Ensures no thin spots.
- Flash — watch for the "rainbow" appearance that tells you the coating's ready to level. Product-specific: 30 seconds to 2 minutes depending on brand, temperature, and humidity.
- Level — fresh, short-nap microfiber, very light pressure, two passes. High spots lift off; bonded coating stays.
- Buff inspect — under LED, should be uniformly glossy, no streaks, no rainbow "jetting" marks. If streaks remain, you waited too long — re-coat that section.
Two-layer systems
Many 3-year+ coatings are two-layer: a base + a topper. Apply the base, let cure for the specified time (typically 1-4 hours), then apply the topper following the same process. Don't skip the cure between layers.
The cure window
Handling-cure (water-safe) is typically 8-12 hours. Full-cure (chemically bonded, at full durability) is 7 days at 70°F and 50% RH. During the cure window:
- Keep the car dry for 24 hours minimum (48 is safer).
- No washing for 7 days.
- No parking outdoors for 48 hours.
- Indoor, temperature-controlled storage is ideal.
Chapter 7
After-care and common failure modes
Ceramic care is not a single procedure done once. It's a maintenance regime that keeps the coating topping off its bond cycle.
The aftercare kit the customer leaves with
- pH-neutral ceramic-safe shampoo — no wax additives, no gloss-enhancers. CarPro Reset, Gyeon Bathe+ Essence, Meguiar's Hybrid Ceramic Shampoo.
- Microfiber drying towel (not chamois) — plush, clean, dedicated to this car only.
- Quick detailer / topper spray — typically brand-matched to the coating (Gyeon Cure, CarPro Reload, Gtechniq Gloss).
- Printed care card — with wash schedule, forbidden products list, and the 7-day full-cure rule highlighted.
The six failure modes
- Wipe-off streaks visible at delivery. Cause: applied during a too-humid window or rushed leveling. Fix: strip and re-coat that panel. Don't deliver hoping the streaks disappear — they won't.
- Coating sheds in 30-90 days. Cause: prep failure. Silicone, wax, or polishing oil on the panel at application. Fix: full decon, correction, wipe, and re-coat.
- Water spots bond permanently in month 2. Cause: customer washed before the 7-day cure, or used hard tap water. Fix: coating replacement in the affected zone. Include hard-water warning in care card.
- Coating hazes under UV after 6 months. Cause: incompatible topper used on aftercare, or low-quality coating brand. Fix: use only brand-matched toppers in the aftercare kit.
- Hydrophobic behavior gone by year 1. Cause: often just fallout loading, not coating failure. Fix: decon wash + brand-matched topper usually restores.
- Coating on trim pieces / emblems. Cause: over-application, not masking. Fix: always mask trim, rubber, and glass edges during coating. The 20 minutes of tape-up is cheaper than stripping a misted emblem.
Keep reading
More from the bay.
PAINT
How to match single-stage urethane
Sprayout cards, flip-tone control, tri-coat mid-coat counts, and the 18-inch blend rule.
ABRASIVES
Sandpaper grits, finally explained
FEPA vs CAMI, the five abrasive materials, the progression rule, and the wet-sand / cut-and-buff chain.
BOOTH
Booth-day checklist
Filters, flash times, film thickness, airflow. The pre-spray runbook we print and stick to.
Work with us
Open a trade account, skip the retail markup.
Volume pricing on every SKU, same-day ship by 3pm CT, Net 30 after three clean orders, and one rep who knows your bay. Built for the shops that go through a case of panel bond a month, not a tube a year.