DIY Clear Coat Refinishing: Step-by-Step Guide Using 3M™ 260L Series Abrasive Discs
Project Overview
This comprehensive guide walks you through refinishing a clear coat repair using professional-grade 3M™ 260L Series abrasive discs. Perfect for addressing clear coat oxidation, fine scratches, or preparing surfaces for new paint application. This project demonstrates the proper progression through multiple grit stages for optimal surface preparation.
Difficulty Level: Intermediate
Estimated Time: 4-6 hours (including cure times)
Project Scope: Small to medium panel clear coat restoration (approximately 2-4 square feet)
Tools & Materials List
3M™ 260L Series Abrasive Discs Required:
- P600 grit discs (MMM.0911.BX) - Initial cut and heavy defect removal
- P800 grit discs (MMM.0910.BX) - Progressive refinement
- P1000 grit discs (MMM.0909.BX) - Fine sanding preparation
- P1200 grit discs (MMM.0908.BX) - Pre-polish preparation
- P1500 grit discs (MMM.0907.BX) - Final finishing
Additional Tools & Materials:
- 3-inch hook and loop backing pad compatible DA sander
- Spray bottle with distilled water
- Microfiber towels
- Tack cloth
- Masking tape and paper
- Polishing compound
- Buffing pad
Safety First
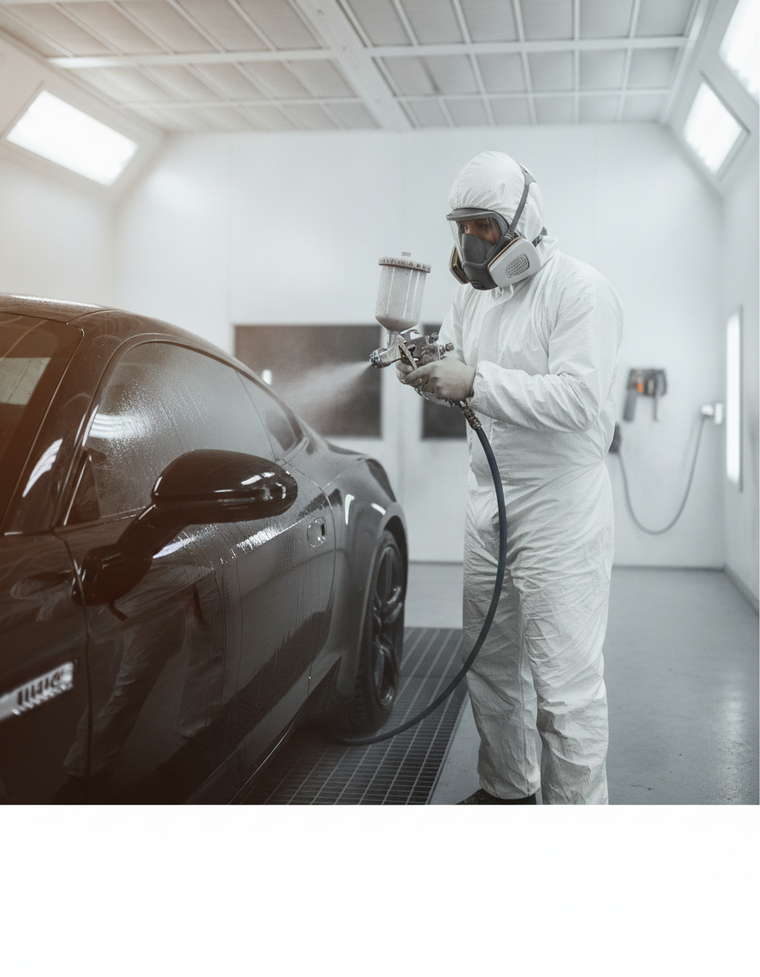
Based on the SDS data for these abrasive products, proper safety protocols are critical due to multiple hazards including carcinogenic dust, respiratory irritants, and eye damage potential.
Required Personal Protective Equipment:
- Eye Protection: Safety glasses with side shields or goggles (required for all grits)
- Respirator: NIOSH-approved dust respirator minimum N95 rating (required for all grits)
- Protective Clothing: Long sleeves and pants to prevent skin contact
- Gloves: Nitrile or similar chemical-resistant gloves
Ventilation Requirements:
Ensure adequate ventilation in work area. Flash point data shows 63°F, requiring attention to heat sources and spark prevention during sanding operations.
First Aid:
Keep eyewash station accessible. If eye contact occurs, flush immediately with water for 15 minutes. For skin irritation, wash with soap and water.
Surface Preparation
Initial Assessment
Clean the work area thoroughly with degreasing agent. Mask surrounding areas to prevent cross-contamination. Inspect the surface for depth of defects to determine starting grit.
Surface Cleaning
- Degrease panel with appropriate solvent
- Remove any wax or polish residue
- Allow surface to completely dry
- Perform final wipe with tack cloth
Step-by-Step Sanding Progression
Step 1: Initial Cut with P600 Grit
Mount P600 grit 3M™ 260L disc (MMM.0911.BX) on DA sander with 3-inch hook and loop pad.
- Speed Setting: Medium (approximately 8,000-10,000 OPM)
- Technique: Overlapping circular motions, 50% overlap
- Pressure: Light to medium - let the abrasive do the work
- Pattern: Work in 2ft x 2ft sections
Sand until all major defects are removed and uniform scratch pattern is achieved. Clean surface frequently to assess progress.
Step 2: Refinement with P800 Grit
Replace with P800 grit disc (MMM.0910.BX). This step removes P600 scratches while maintaining cut efficiency.
- Overlap: Ensure 100% coverage over P600 sanded areas
- Technique: Same circular pattern, slightly reduced pressure
- Progress Check: All P600 scratches should be eliminated
Step 3: Progressive Sanding with P1000 Grit
Install P1000 grit disc (MMM.0909.BX) for continued refinement.
- Speed: Reduce to 6,000-8,000 OPM
- Water Application: Light mist spray for wet sanding if desired
- Pattern: Cross-hatch the previous grit marks at 90-degree angle
Step 4: Fine Preparation with P1200 Grit
Mount P1200 grit disc (MMM.0908.BX) for near-final preparation.
- Technique: Wet sand with light water mist
- Pressure: Very light pressure, focus on uniformity
- Inspection: Surface should show consistent fine scratch pattern
Step 5: Final Finishing with P1500 Grit
Complete the progression with P1500 grit disc (MMM.0907.BX) for final surface preparation.
- Application: Wet sand with continuous water supply
- Speed: Lowest setting (4,000-6,000 OPM)
- Pattern: Linear strokes in final direction
- Finish Quality: Surface ready for polishing compound
Grit Progression Schedule
| Step | Grit | Purpose | Estimated Time | Speed (OPM) |
|---|---|---|---|---|
| 1 | P600 | Heavy cut, defect removal | 30-45 minutes | 8,000-10,000 |
| 2 | P800 | Scratch refinement | 20-30 minutes | 8,000-10,000 |
| 3 | P1000 | Progressive smoothing | 15-25 minutes | 6,000-8,000 |
| 4 | P1200 | Fine preparation | 15-20 minutes | 6,000-8,000 |
| 5 | P1500 | Final finishing | 10-15 minutes | 4,000-6,000 |
Surface Inspection and Quality Control
After each grit progression:
- Clean surface with tack cloth
- Inspect under proper lighting for scratch uniformity
- Verify complete removal of previous grit marks
- Check for any breakthrough to substrate
Polishing and Final Finish
Compound Application
Following P1500 grit finishing, apply polishing compound using appropriate buffing pad. Work in small sections with overlapping passes.
Final Polish
Complete with fine polish to achieve desired gloss level. Remove all polishing residue with clean microfiber towels.
Pro Tips and Common Mistakes
Pro Tips:
- Disc Maintenance: Clean discs frequently with compressed air to prevent loading
- Heat Management: Take breaks to prevent overheating, which can damage clear coat
- Edge Work: Reduce pressure near panel edges to prevent breakthrough
- Progress Tracking: Mark completed sections to ensure uniform coverage
Common Mistakes to Avoid:
- Skipping grit progressions - each step builds on the previous
- Excessive pressure - causes swirl marks and heat damage
- Working too large an area - compounds dry before completion
- Inadequate surface cleaning between grits
Cleanup and Tool Maintenance
Clean all equipment immediately after use:
- Remove all abrasive discs and store in original packaging
- Clean backing pad with compressed air
- Wipe down DA sander housing
- Dispose of used discs according to local regulations
- Clean work area and dispose of dust properly
Conclusion
This systematic approach using 3M™ 260L Series abrasive discs demonstrates professional-grade surface preparation through proper grit progression. The key to success lies in respecting each step's purpose and maintaining consistent technique throughout. Remember that proper PPE is non-negotiable due to the documented health hazards in the SDS data. Always allow adequate time for each step and maintain proper ventilation throughout the process. The 63°F flash point requirement emphasizes the importance of controlling heat sources during all sanding operations.
Leave a comment