DIY Seam Sealing: Step-by-Step Guide Using 1K Sealers
Project Overview
Seam sealing is a critical step in body repair that prevents moisture intrusion, corrosion, and ensures structural integrity. This project covers applying 1K sealer to various seam types including panel joints, door frames, and body seams on mixed substrates. Using X-L Products 1K sealers, we'll demonstrate proper application techniques for long-lasting protection.
Difficulty Level: Intermediate
Estimated Time: 2-4 hours depending on seam length
Ideal Shop Temperature: 70°F for optimal cure times
Tools & Materials List
X-L Products Required:
- X-L 1K Sealer Gray Quart (X-L.27004.QT) - for primer and steel substrates
- X-L 1K Sealer Black Quart (X-L.20004.QT) - for matching dark areas
- X-L 2K HS Activator 1/2 Pint (X-L.36116.HP) - for enhanced adhesion on challenging substrates
Additional Tools & Materials:
- Caulk gun or sealer applicator
- Mixing cups and stir sticks
- 320-400 grit sandpaper
- Scotch-Brite pads
- Tack cloth
- Masking tape and paper
- Clean rags
- Solvent for cleanup
Safety First
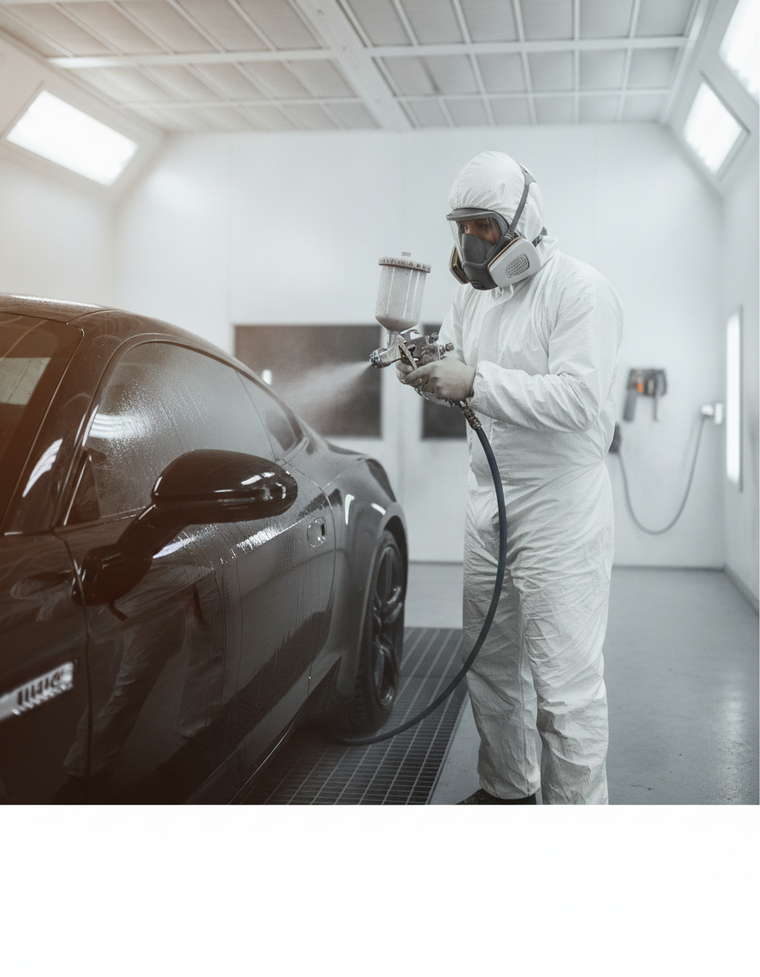
1K sealers require proper safety precautions during application:
- Respiratory Protection: Use organic vapor respirator in enclosed spaces
- Skin Protection: Wear nitrile gloves and long sleeves
- Eye Protection: Safety glasses or face shield required
- Ventilation: Ensure adequate air movement - minimum 4 air changes per hour
- Fire Safety: Keep away from ignition sources during application
First Aid: If skin contact occurs, wash immediately with soap and water. For eye contact, flush with clean water for 15 minutes and seek medical attention.
Surface Preparation
Proper substrate preparation is critical for sealer adhesion across the compatible surfaces:
Steel and Aluminum Substrates:
- Clean with degreaser to remove oils and contaminants
- Sand with 320 grit paper to create mechanical adhesion
- Remove all sanding dust with tack cloth
- Ensure surface is completely dry
E-coat and Primer Substrates:
- Light scuff with 400 grit sandpaper
- Clean with solvent wipe
- Allow flash time for solvent evaporation (5 minutes minimum)
Fiberglass Substrates:
- Sand with 320 grit to break surface tension
- Remove all residue with clean, lint-free cloth
- Check for contamination that could affect adhesion
Step-by-Step Application
Step 1: Product Selection and Mixing
X-L 1K sealers have a mix ratio of 1:1, meaning they're ready to use straight from the container. For enhanced adhesion on challenging substrates like bare aluminum or fiberglass, add 2K HS Activator at the specified viscosity ratio.
Step 2: Sealer Application Technique
- Load Applicator: Fill caulk gun or applicator with selected 1K sealer
- Apply Consistently: Maintain steady pressure for uniform bead thickness
- Seam Coverage: Ensure complete coverage of joint area - typically 1/4" to 3/8" bead width
- Work Time: Complete application efficiently as working time varies by temperature
Step 3: Tooling and Finishing
- Tool sealer into seam using appropriate technique for joint type
- Remove excess material while still workable
- Check for complete coverage and fill any gaps immediately
- Clean tools with appropriate solvent before sealer begins to skin
Dry & Cure Schedule
| Cure Stage | Time at 70°F | Characteristics |
|---|---|---|
| Initial Set | 15-30 minutes | Surface begins to skin over |
| Tack Free | 1-2 hours | No transfer when lightly touched |
| Sandable | 4-6 hours | Can be sanded without loading paper |
| Recoat Window | 2-24 hours | Optimal time for additional coats |
| Full Cure | 24-48 hours | Maximum physical properties achieved |
Note: All cure times at 70°F. Higher temperatures accelerate cure, lower temperatures extend cure times. Adjust schedule accordingly for actual shop conditions.
Sanding & Finishing
Once the sealer reaches sandable stage (4-6 hours at 70°F):
- Initial Sanding: Use 400 grit dry sandpaper for shaping
- Final Prep: Progress to 600 grit for smooth finish
- Surface Check: Ensure uniform texture for paint adhesion
- Clean Surface: Remove all sanding residue with tack cloth
The cured 1K sealer accepts primer and paint systems directly, making it ideal for areas requiring subsequent coating.
Pro Tips & Common Mistakes
Professional Recommendations:
- Color Selection: Choose sealer color to match final coating - gray for light colors, black for dark
- Substrate Compatibility: All X-L 1K sealers work on aluminum, e-coat, fiberglass, primer, and steel - verify substrate before application
- Temperature Management: Maintain consistent shop temperature during application and cure
- Tool Maintenance: Clean application tools immediately after use
Common Mistakes to Avoid:
- Applying over contaminated surfaces
- Working beyond pot life in mixed systems
- Insufficient surface preparation on smooth substrates
- Applying in high humidity conditions
Cleanup
Proper cleanup extends tool life and maintains shop safety:
- Immediate Action: Clean tools while sealer is still wet
- Solvent Selection: Use appropriate solvent for complete removal
- Tool Storage: Ensure applicators are completely clean before storage
- Waste Disposal: Dispose of materials according to local regulations
Conclusion
X-L Products 1K sealers provide reliable seam sealing across multiple substrates with their 1:1 ready-to-use formulation. Key success factors include proper surface preparation, appropriate color selection for the substrate, and following the 4-6 hour sandable time at 70°F. The compatibility with aluminum, e-coat, fiberglass, primer, and steel makes these sealers versatile for various repair scenarios. Always consult the complete Technical Data Sheet and Safety Data Sheet for specific application requirements and safety information.
Leave a comment