Stop Skipping Grits: The Right Sandpaper Order for Every Job
P80, then 150, 180, 240. Skip a step, and the next grit can't take out the scratches the last one left. AutofxMart's free Grit Selector lays out the sanding sequence for your job and your surface: the grit, the tool, wet or dry.
In this video: body filler (P80 on a long board, then a DA at P150, P180, P240, then prime the same day), what each grit does to the scratch, a plastic bumper (a red scuff pad by hand, never coarse paper; P400 only on rigid areas; then plastic prep and adhesion promoter), primer on a block over a guide coat (P320, P400, P600 wet), clear coat (colour-sand P1200 on runs only, P1500, P2000; wet-sand to P3000 and P5000 before compound and polish), and the page's map of what the grit numbers mean.
NEXT ON THIS CHANNEL
How much hardener, how much reducer, in quarts, ounces or grams: the Mixing Calculator. Subscribe so you don't miss it.
In this video
- 0:00 P80, 150, 180, 240
- 0:37 The job and the surface
- 1:07 Body filler, step by step
- 1:35 The scratch, grit by grit
- 1:48 A plastic bumper: a red pad, not paper
- 2:13 Primer: a block and a guide coat
- 2:41 Clear coat: 1200 to 5000, wet
- 3:13 What the grit numbers mean
- 3:42 The right grits, in order
- 3:50 Next: the Mixing Calculator
Shop what's in the video
Good to know
- Every grit here is a starting point, as the tool says: test on a hidden area and follow each product's data sheet.
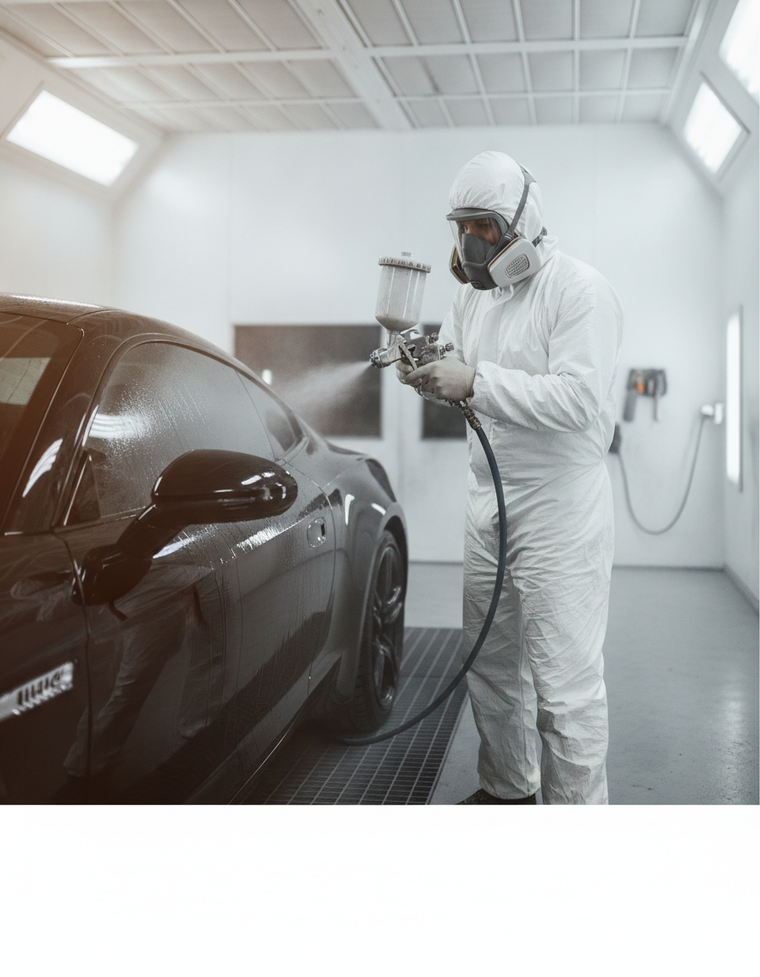
- The tool on screen is the live Grit Selector on our store, captured in October 2026, and the shop at the end is ours in South San Francisco. The booth, the driveway and the close-ups of the scratches are AI-generated video (Kling 3.0 through Higgsfield), labelled on screen.
- The narrator is an AI voice (ElevenLabs through Higgsfield).
- Sanding filler and primer makes fine dust: wear a dust mask or respirator and eye protection.
Transcript
P80, 150, 180, 240 P80. Then 150. 180. 240. Skip a step, and the next grit can't take out the scratches the last one left. That's the ladder AutofxMart's free Grit Selector gives for body filler. Two jobs: filler on a quarter panel in the booth, and a scuffed plastic bumper in the driveway. Tell it the job and the surface, and it lays out every step: the grit, the tool, wet or dry. It's free, at autofxmart.com, Sanding Grit Guide. The link is below.
The job and the surface It asks two things. The job: feather-edge, to blend a repair into the paint around it; scuff, to dull a finish so the next coat grips; sand primer, colour-sand or wet-sand. And the surface, from bare steel to plastic. Body filler gets the short answer first: rough-shape at P80, feather 150, 180, 240, then prime, and don't leave filler exposed overnight.
Body filler, step by step Step one, P80 on a long board: rough-shape the filler. Then a DA sander: P150 knocks down the P80 scratches and starts the feather, P180 widens it, and P240 is the final for primer: stop any coarser, and the scratch shows through. And what comes next: don't leave filler bare; prime it the same day.
The scratch, grit by grit That's the whole idea. P80 leaves deep scratches. Each finer grit takes out the last one's, until P240 leaves them fine enough for primer to cover.
A plastic bumper: a red pad, not paper In the driveway, the job is scuff, the surface is plastic. The answer: a red scuff pad, by hand, because coarse paper tears flexible plastic. P400 only on rigid areas: hard ABS, or filler on a repair. Then clean it with plastic prep, and adhesion promoter before primer.
Primer: a block and a guide coat In the booth, sanding primer: on a block, over a guide coat. P320 cuts and levels, and the guide coat shows every high and low. P400 takes out the P320 scratch. P600, wet, is the final before base: it keeps scratches from showing under dark or metallic colours. Then seal and base; don't leave sanded primer sitting for
Clear coat: 1200 to 5000, wet days. After the clear, it's all wet, on a foam block. Colour-sanding: P1200 only on runs and nibs, and only on thick clear, or you'll burn through. P1500 levels orange peel, and P2000 leaves a scratch that buffs out easily. Wet-sanding cured clear goes further: P2000, then 3000, and 5000 if you want less compounding. Then compound and polish, for full gloss.
What the grit numbers mean And if a grit number means nothing to you, the page has the map. P40 to 120 cuts and shapes. 150 to 320 feathers. 400 to 600 scuffs and blocks. 800 to 1500 colour-sands. 2000 to 5000 wet-sands, before you polish. And it's a starting point, it says: test on a hidden area, and follow each product's data sheet.
The right grits, in order Filler or a bumper, booth or driveway: the right grits, in the right order.
Next: the Mixing Calculator What are you sanding this weekend? Tell us the job and the surface in the comments. Next on this channel: how much hardener, how much reducer, in quarts, ounces or grams. That's the Mixing Calculator. Subscribe so you don't miss it.
AutofxMart: paint mixed to the code and body shop supplies, shipped from South San Francisco. Video by Upshift.